How to Fix Common Bike Issues on the Trail
A trailside bicycle-repair overview for common problems, basic tools, practice at home, and deciding when a bike should be walked out or inspected.
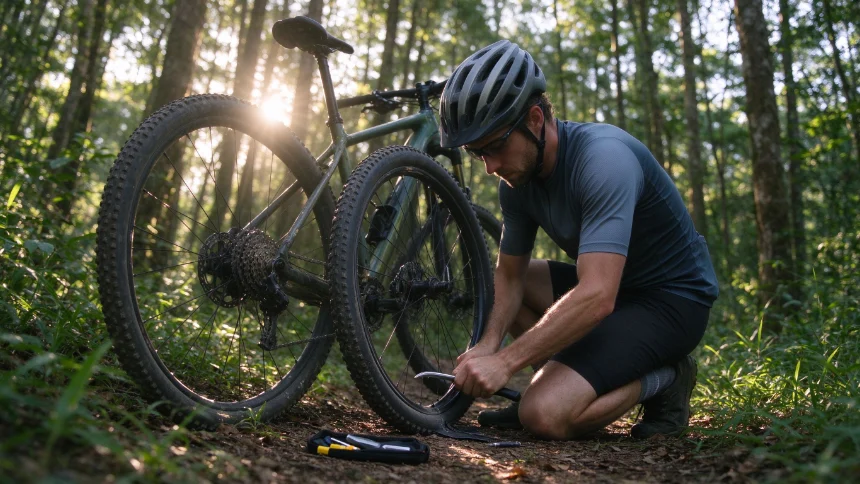
A flat tire or slipped chain can end a ride early, but a roadside fix is only useful if you can make it safely and verify the bike before riding again. Move well clear of traffic and other trail users before taking out tools. If a repair affects braking, steering, the wheel attachment, or a structural part and you are unsure of the result, walk the bike and arrange help.
You don’t need to be a mechanic. You just need to know the common problems and what to do about them.
What to Carry in Your Pocket
A small repair kit covers most trailside issues. You don’t need a toolbox.
| Tool | What It Fixes | Notes |
|---|---|---|
| Spare tube or patch kit | Flat tires | Match the tube or repair kit to your wheel and tire setup |
| Tire levers | Removing the tire | Two levers make it much easier |
| Portable pump or CO2 | Re-inflating | CO2 is fast but disposable |
| Multi-tool | Bolts, derailleur adjustments | Look for one with hex keys and a screwdriver |
| Chain tool | Broken chain | Less common but essential when it happens |
Fixing a Flat Tire
This is the one you’ll deal with most often. Find the puncture, remove the wheel, pull the tube out, and inflate it slightly to find the hole by listening or feeling for air.
Patch or replace the tube using a method you have practiced. Check the tire for the object that caused the puncture, then reinstall the tire and wheel according to the wheel and brake instructions. Before riding, confirm the axle is seated and secured, the tire is seated and inflated within its marked range, and both brakes work. REI’s flat-tire guide illustrates common setups; thru-axle, tubeless, and brake designs differ.
A Broken Chain
A snapped chain can leave a rider stranded. If you know your chain type and carry a compatible quick link and chain tool, follow the chain maker’s directions for removing the damaged section and reconnecting it. The replacement link must match the chain; do not reuse an incompatible pin or assume an improvised join is safe to pedal on.
If you don’t have a chain tool, you’re likely walking. That’s why it’s worth carrying one.
Loose Bolts and Parts
Do not tighten a loose handlebar, stem, crank, axle, or other critical fastener by guesswork. Torque and assembly requirements vary. A small adjustment is appropriate only when you know the part, have the correct tool, and can follow its maker’s instructions. Stop if a shifting issue can jam the chain or make it come off unpredictably.
Never continue riding with a brake that does not engage reliably, a damaged wheel attachment, cracked frame or fork, loose crank, or any problem that affects control. A pre-ride check helps catch visible problems; it cannot guarantee that a component is sound. REI’s pre-ride inspection gives a basic checklist, and a qualified mechanic should assess suspected damage.
When to Walk It Out
Walk the bike or call for a ride if a frame or fork is cracked, a wheel is not secure, a brake is unreliable, a crank is loose, or the derailleur or wheel cannot turn without contacting the frame. Do not ride a bike with damage you cannot confidently assess.
Practice Before You Need It
The best time to learn how to fix a flat is in your driveway, not on the trail. Practice changing a tube at home until it feels easy. When you actually need to do it on the side of the road, you’ll be glad you did.
Practice a flat repair at home using your own wheel and axle system. Review the bike and component manuals before attempting adjustments. For more detail, see REI’s repair kit overview and chain repair guide; use them alongside the instructions for your own parts.