How to Patch and Repair an Inflatable Sleeping Pad
Find and patch a small sleeping-pad leak using the repair method and materials approved for the pad, then check the repair before a trip.
Nothing kills a camping night faster than rolling over onto a deflated sleeping pad and feeling the cold ground against your hip. But a flat pad isn’t always a dead pad. Most leaks are small enough to patch at home with a basic repair kit, and the whole job takes far less time than you’d think.
Repair methods vary with the pad fabric, coating, valve, and adhesive. Begin with the maker’s repair instructions and warranty terms; use a generic method only when the maker confirms it is suitable for that model.
Gather Your Repair Supplies
Gather the repair kit specified for your pad, plus the cleaning and marking items its instructions allow. Adhesives and solvents that work on one fabric can damage another, so do not substitute tape, glue, or rubbing alcohol unless the pad maker permits them.
If the leak is so tiny you can’t find it, that’s a home project. You’ll need a tub of water, mild soap, a sponge and a marker to sleuth out the hole.
Find the Leak Location
Many leaks are obvious — a visible tear or puncture you notice right away. Tiny micro-leaks hide, though, and they take a little detective work.
Use the leak-finding method recommended by the pad maker. If its instructions allow a soapy-water check, work on a small area at a time and keep water away from the valve and openings. Mark the location, then clean and dry the area as directed.
Do not submerge the whole pad unless the manufacturer specifically says that the model and valve can be submerged. If the leak remains unclear, contact the maker or a repair service.
Prepare the Patch Surface
Before you patch, the surface has to be clean and dry or the adhesive won’t hold.
Follow the repair kit’s surface-preparation directions. The area may need to be clean and dry, but do not use alcohol, detergent, or other solvent unless both the pad and repair-kit instructions approve it.
Apply the Patch
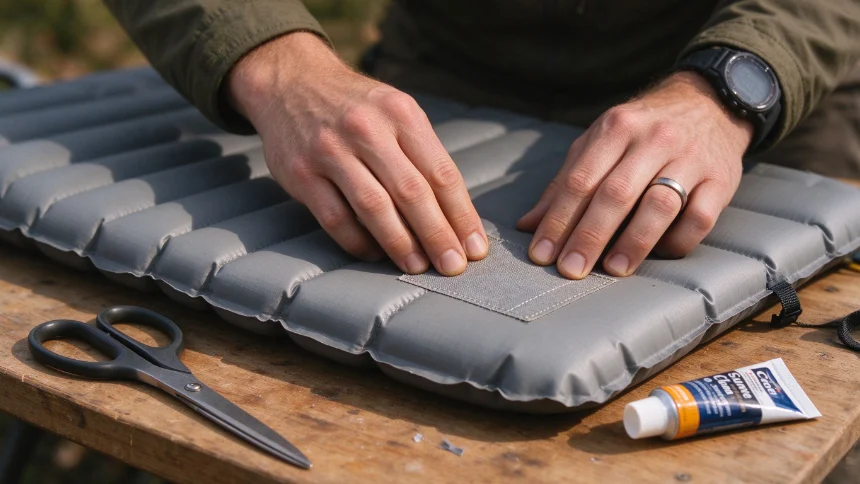
Apply the patch or adhesive using the kit’s exact steps, including patch size, pressure, and cure time. Do not combine products from different kits unless the makers confirm they are compatible. After the stated cure period, test the repair by the method in the pad instructions before packing it for a trip.
When to Call a Professional
If the repair does not hold, the valve or seam is damaged, or the maker’s instructions do not cover the fault, stop using the pad for an overnight trip and ask the manufacturer or a qualified repair service. Therm-a-Rest’s manual and warranty guidance, for example, directs users to follow the included kit instructions and use the approved self-adhesive patch; follow the manual for your own pad.