How to Choose a Daypack for Hiking
Choose a hiking daypack by trying its fit with a realistic load, then compare capacity, suspension, pockets, and the gear your routes actually require.
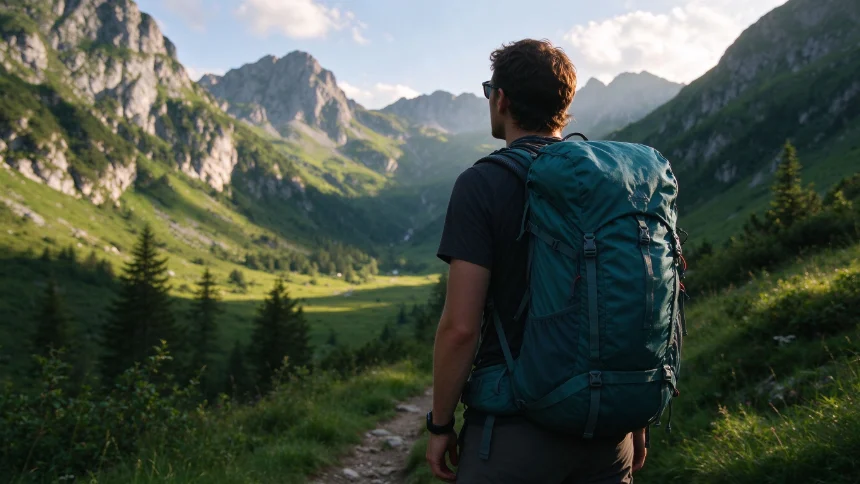
Walk into any outdoor shop and you’ll see shelves packed with daypacks that all look roughly the same. They all have straps, zippers and a couple of pockets. So how do you tell which one actually fits your hikes?
The best daypack isn’t the lightest or the most supportive — it’s the one that matches how much you carry, the terrain you cover, and how long you’re out. Here’s what to look at before you buy.
Pick the Right Capacity
Pack volume is a starting point, not a rule for a certain number of hours. Lay out the items you normally carry, including the layers and safety equipment required for your routes, and compare them with the pack’s usable compartments. A bulky winter layer or camera can change the size you need more than the trail’s duration does.
| Example outing | What may change the volume you need |
|---|---|
| Short local walk | Water, a layer, and the items needed for the route and conditions |
| Longer day hike | Extra food, weather layers, navigation, and personal essentials |
| Cold-weather or equipment-heavy day | Bulky insulation, activity-specific gear, and a larger kit |
These are planning examples, not capacity cutoffs. A smaller pack is not useful if it forces you to leave necessary gear behind, and unused space is not itself a problem if the load stays stable.
Fit Matters More Than the Brand
A $200 pack that doesn’t fit your back is worse than a $60 one that does. When you try a pack on, load it with weight similar to what you’ll actually carry — a few water bottles and a jacket.
Follow the instructions for the model you are trying. On many packs, the hip belt is adjusted around the hips and the shoulder harness should rest comfortably without pinching or restricting breathing. Pack fit varies by torso length, body shape, and harness design; if the straps or belt cannot be adjusted to sit comfortably, try another size or model. Osprey’s pack-fitting guide is one brand-specific example, not a universal fitting specification.
If the pack has an adjustable torso length, use it. One-size-fits-all packs rarely fit everyone well.
Decide How Much Support You Need
Daypacks use different support systems; labels do not predict how a particular pack will feel under your load.
Frameless designs usually favor a simple, light load and can feel less structured when packed unevenly.
Framesheets or stays can help a pack hold its shape, but comfort depends on the pack’s design and fit as well as the load.
More supportive frames add structure and may make a heavier or awkward load easier to carry; compare the maker’s intended use and fit instructions.
Think About Pocket Layout
A pack that looks simple on the outside might force you to dig through the main compartment every time you want a snack. Look for external pockets that match how you hike.
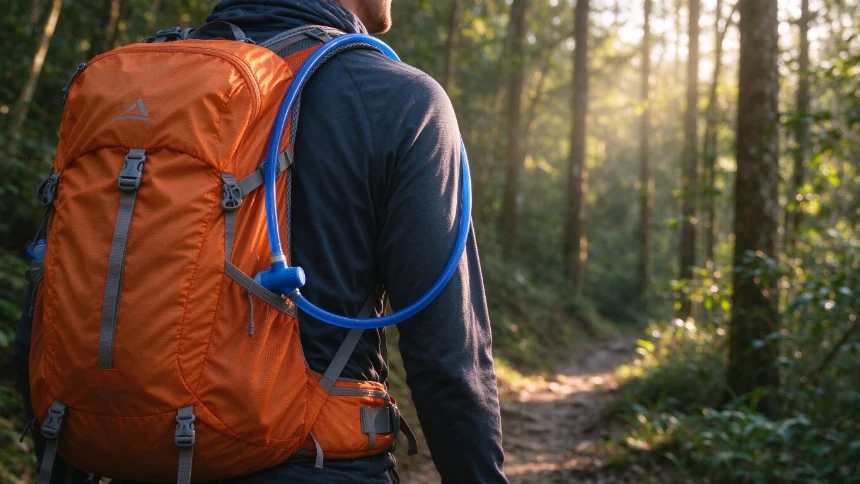
Side water bottle pockets should be sized for the bottles you actually use. Hipbelt pockets are handy for a phone or energy bar. A stretch front pocket works well for a jacket or layers you take on and off. If you use a hydration bladder, check that the pack has a dedicated sleeve and hose routing.
Weigh the Tradeoffs
No single pack wins at everything. A ventilated back panel means less contact but a bit less stability. A lightweight pack skips some padding. A heavy-support pack carries more but weighs more before you even pack it.
Be honest about what you actually need. If you’re a casual day hiker, you don’t need a full expedition pack. If you’re out in the mountains year-round, a minimal frameless pack will leave you wanting more.
Try on a few with your realistic load and adjust them according to the maker’s fitting guide. The right pack is comfortable with your real load and does not make you leave route-appropriate essentials at home.