How to Choose Trekking Poles for Hiking
Compare trekking-pole materials, locking systems, grips, and adjustment range, then check the fit and use instructions for the pair you are considering.
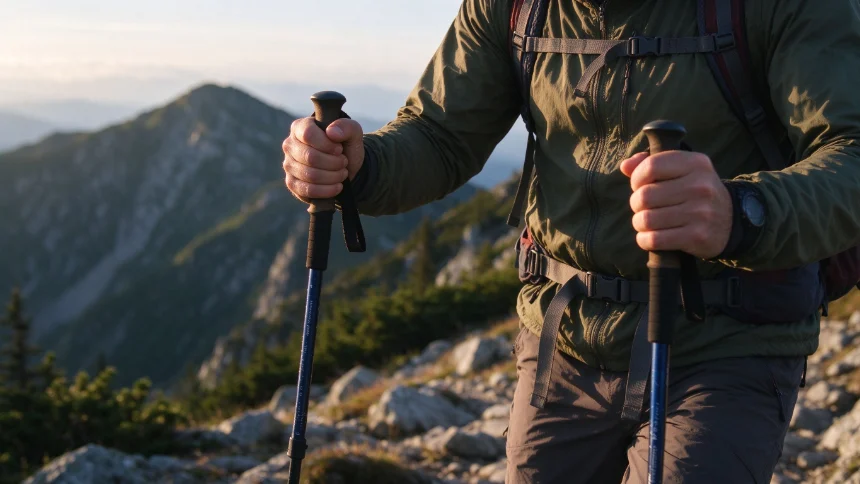
Some hikers like the extra contact points trekking poles provide; others prefer to keep their hands free. Poles can help with balance on some terrain, but they are not a substitute for suitable footwear, route choices, or moving at a pace you can manage.
The trick is picking the right ones for how you hike. There’s no single “best” pair — it depends on your terrain, your budget and how much weight you carry. Here’s what actually matters.
Aluminum vs Carbon Fiber
The first big choice is shaft material. Each has a clear tradeoff.
| Material | Common tradeoff | What to compare |
|---|---|---|
| Aluminum | Often less expensive; may bend under a hard impact | Weight, repair policy, and intended use |
| Carbon composite | Often lighter and may damp vibration | Impact limits, model construction, and intended use |
Construction and durability vary by model, not material name alone. Compare the maker’s intended use, repair policy, weight, and locking system. REI’s pole selection guide describes common tradeoffs; it is a general guide, not a guarantee about a specific pole.
Locking System: Telescoping vs Folding
Next, decide how the poles collapse.
Telescoping poles twist or use a lever lock to extend. They’re simple, easy to adjust on the trail, and the most common choice for day hikers. The tradeoff is a longer collapsed length.
Folding poles pack down shorter, while telescoping poles often offer a wider adjustment range. Collapsed length, adjustment, and stiffness vary by design, so check the model’s manual and try the locks before buying.
Pick the Right Grip
You’ll hold these for hours, so the grip matters more than you think.
Grip feel is personal. Try the material with the gloves you expect to wear, and check whether its shape and strap adjustment let you hold the pole without squeezing hard.
Look for a wrist strap that adjusts easily — you’ll be using it constantly, and a floppy strap gets annoying fast.
Get the Right Length
When you hold the poles on flat ground, your elbow should bend at about a 90-degree angle. If your arms are too straight, the poles are too long. If your hands shoot up near your shoulders, they’re too short.
On a long traverse, some hikers adjust each pole to the slope; others keep the same setting. Change length only within the maker’s adjustment marks, lock the sections as instructed, and stop to check a lock if a section slips.
Don’t Overpay for Features You Won’t Use
Some poles come with built-in adjustment tools, multiple basket sizes, and fancy grips. Those extras are nice, but they’re not essential.
Check that the locks engage as the manufacturer describes and that baskets or tips suit the surfaces you plan to use. Poles cannot make an unsafe crossing or icy slope safe.
Try Before You Buy
If you can, try a pair in a shop. Set the length and test each lock according to the instructions. A pole that will not lock or shows a crack should stay out of use until repaired or replaced according to the maker.