How to Choose a Hydration Pack for Hiking
Compare hydration-pack fit, reservoir access, cleaning, storage, and capacity against the length, weather, and water options on your usual hikes.
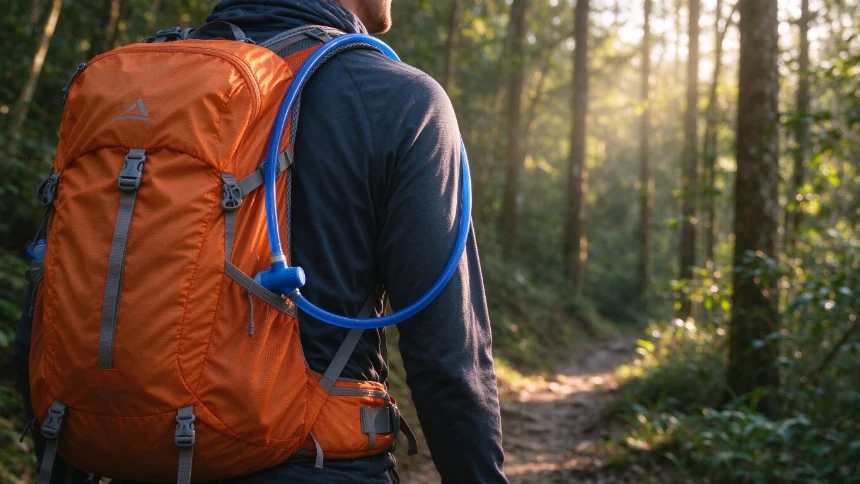
A hydration pack combines a reservoir and drinking tube with a pack designed to carry other items. It can make water easy to reach, but it does not tell you how much water a route requires. Plan that separately from the pack purchase.
Not all hydration packs are the same, though. Some are barely more than a bladder sleeve with straps, while others carry a full day’s worth of gear. Here’s what to look for.
Pick the Right Size
The biggest mistake new hikers make is buying a pack that’s too big. Ask yourself what you actually carry on a typical outing.
| What you carry | How to compare packs |
|---|---|
| Water and a few essentials | Check that the reservoir fits and remaining space holds route-specific layers and supplies |
| A longer day kit | Lay out food, weather layers, navigation, and personal items before comparing usable volume |
| Cold-weather or equipment-heavy kit | Check the maker’s capacity, fit, and whether bulky gear fits without blocking reservoir access |
A larger pack tempts you to fill it. If you’re mostly out for three or four hours, you don’t need 24 liters.
Get the Right Bladder Capacity
Most hydration packs come with a bladder, but some don’t. If yours doesn’t, you’ll need to buy one separately.
Reservoirs come in different volumes, but no one size is right for all day hikes. Estimate what you need for the route and conditions, identify whether reliable refill points exist, and carry enough for the sections between them. A larger reservoir does not replace a water-treatment plan where one is needed. The National Park Service’s hiking safety guidance advises planning water around the hike and checking whether sources need treatment.
Check how the reservoir opens, whether its tube and valve can be cleaned, and whether replacement parts are available. Follow the care instructions for that model; CamelBak’s reservoir guide covers its products and should not override another maker’s instructions.
Look at the Back Panel
A hydration pack sits close to your back, so ventilation matters. A mesh back panel with a gap between the pack and your body lets air circulate and keeps sweat from pooling.
Padded shoulder straps and a small hip belt help spread the load. Even a light pack can get uncomfortable after a few hours if the straps dig in.
Think About Organization
You don’t need a pouch for every small item, but a few pockets make a real difference.
A stretch front pocket is handy for a jacket you’re taking on and off. Side pockets work for a phone or a snack. A small internal pocket keeps keys and cash from bouncing around at the bottom of the pack.
If you use a phone or camera, check that there’s a dedicated pocket that won’t get jostled.
Don’t Overthink It
Some packs advertise fancy features — magnetic bite valves, insulated tubes, built-in rain covers. These are nice, but they’re not essential.
What matters more: a bladder that doesn’t leak, a tube that routes cleanly over your shoulder, and straps that adjust easily. If the pack fits well and the hydration system works, the rest is just detail.
Try on a few with weight inside, adjust the straps, and walk around. The right setup is comfortable with your full load, lets you reach water, and is straightforward to clean and dry afterward.