Your Hiking First-Aid Checklist
Use this hiking first-aid checklist to prepare basic supplies, check expiration dates, and keep your kit ready for the trail.
A small first-aid kit can help you deal with minor cuts, blisters, and other common trail problems. The right supplies depend on your route, group size, weather, and how far you will be from help. Use this checklist to prepare a practical kit before your next hike.
1. Cover the Basics
Start with supplies that help protect minor wounds and keep them clean. Store everything in a compact, waterproof pouch that is easy to reach inside your backpack.
-
Adhesive bandages in several sizes
-
Sterile gauze pads and wound dressings
-
Medical tape
-
Antiseptic wipes or another suitable wound-cleaning option
-
Blister dressings or moleskin
-
Small scissors, if permitted and appropriate
-
Disposable nitrile gloves
-
Tweezers for small splinters
Choose supplies you know how to use. A large kit filled with unfamiliar equipment is less useful than a smaller kit you can manage confidently.
2. Prepare for Common Trail Discomforts
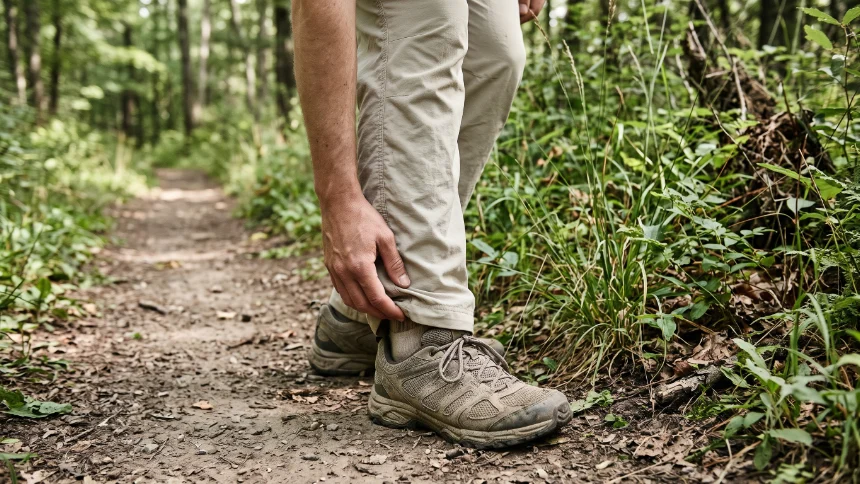
Minor foot problems can turn an enjoyable hike into an uncomfortable walk back to the trailhead. Check your footwear before leaving and pack supplies that match the length and difficulty of your route.
-
Blister care supplies that fit your usual trouble spots
-
A few extra adhesive bandages
-
Oral rehydration salts when appropriate for your trip
-
Personal medications in their original labeled packaging
-
Any allergy-related emergency medication prescribed to you
Medicines are not suitable for everyone. Check labels, allergies, contraindications, and local guidance before packing over-the-counter medication. Never share prescription medication with another hiker.
3. Add Supplies for Your Route
A short walk near a populated area has different needs from a remote overnight trek. Think about the distance to help, the number of people in your group, and the conditions you may encounter.
-
Long or remote hikes: Consider additional dressings, more gloves, and a reliable emergency communication method.
-
Cold or wet conditions: Pack supplies in waterproof packaging and carry extra protection against exposure.
-
Group trips: Account for the number of hikers and any known individual needs.
-
Higher-risk routes: Take appropriate training and learn which additional equipment is recommended locally.
Important: A first-aid kit does not replace training or emergency services. For severe bleeding, breathing difficulties, suspected serious injury, or other life-threatening emergencies, contact local emergency services as soon as possible.
4. Check Your Kit Before Every Trip
Supplies can expire, packaging can tear, and items used on a previous hike may never have been replaced. A quick check before departure helps prevent unpleasant surprises.
-
All essential items are present.
-
Dressings and sterile packaging are intact.
-
Medications are in date and stored correctly.
-
Personal medications are included.
-
The pouch is dry and easy to access.
-
Used or damaged supplies have been replaced.
5. Keep It Organized
Group similar supplies together so you can find them quickly. Keep wound-care items separate from personal medications, and use clearly labeled compartments when possible. Avoid repacking sterile items in ways that damage their original packaging.
After each hike, review what you used and replace it promptly. Store the kit in a cool, dry place, following the instructions for any temperature-sensitive products.
Ready for the Trail?
Before your next hike, check your supplies, review your route, and make sure someone knows your plans. A well-maintained first-aid kit is a small part of preparation, but it can make minor problems easier to manage and help you respond more effectively when something goes wrong.