Lost on the Trail? Start Here
Learn what to do if you get lost while hiking, from stopping and checking your location to choosing a safe next step.
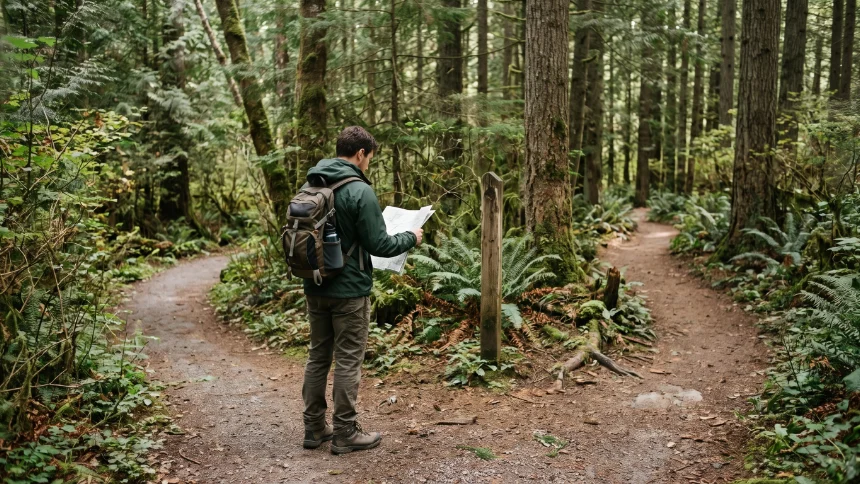
Realizing you may be lost on a hike can be stressful, especially when the trail looks unfamiliar or your phone has no signal. The most important thing is to avoid making a rushed decision. A calm, simple response can help you stay safe and make it easier for rescuers to find you if necessary.
1. Stop and Take a Breath
If the trail no longer matches your map, or you cannot remember the last marked junction, stop walking. Continuing in the wrong direction can take you farther from the route and make your location harder to identify.
Move to a safe spot away from steep edges, traffic, or other immediate hazards. Take a moment to settle down, check the time, and think about the last place where you were certain of your location.
2. Check Your Map and Location
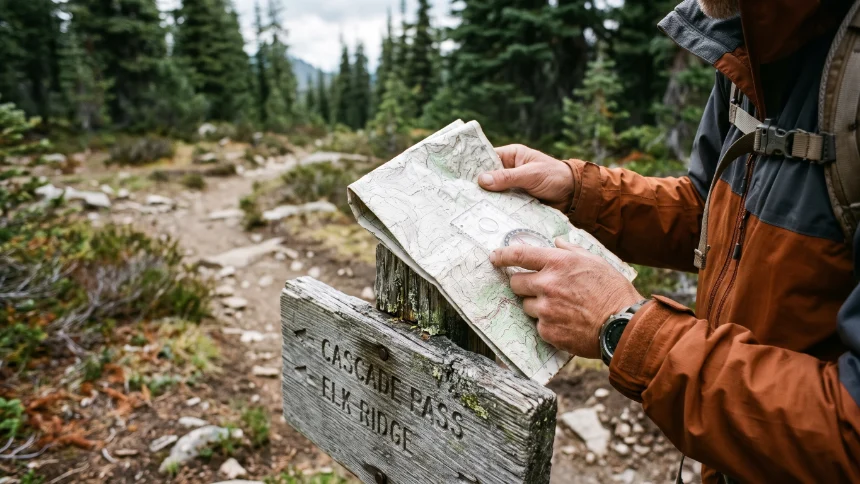
Look at your paper map, downloaded offline map, or GPS device. Compare recognizable features such as trail junctions, streams, ridgelines, and marked landmarks. Check your direction of travel and the last confirmed location.
-
Check whether you are still on the marked trail.
-
Look for trail signs or numbered junction markers.
-
Review your recorded route if you have one.
-
Check your phone battery before using more navigation features.
Do not assume that a phone’s blue location dot means you know which way to walk. GPS can show your position without telling you which nearby path is safe or correct.
3. Avoid Guessing a Shortcut
Walking downhill, following a stream, or cutting through the woods may seem like a quick way out, but these choices can lead to cliffs, dense vegetation, fast-moving water, or more difficult terrain.
If you can clearly identify a safe route back to your last known point, retracing your steps may be sensible. If you cannot establish where you are or the route back is uncertain, do not keep wandering in the hope of finding the trail.
Remember: Staying in one safe place is often better than moving blindly. However, if your current location is immediately dangerous, move only as far as needed to reach a safer spot.
4. Contact Someone if You Need Help
If you cannot safely find your way, contact local emergency services or the relevant park rescue service. Do not wait until you are injured, completely out of water, or caught after dark.
Share your last known location, trail name, planned destination, number of people in your group, and any injuries or immediate dangers. If your phone has no cellular signal, try an available emergency communication option if your device and region support it.
Preserve your phone battery by reducing screen brightness and limiting unnecessary use. If you carry a satellite messenger or personal locator beacon, follow its instructions and use its emergency function when appropriate.
The National Park Service outdoor emergency plan explains what information to give rescuers and why staying put after contacting them helps.
5. Stay Warm, Visible, and Hydrated
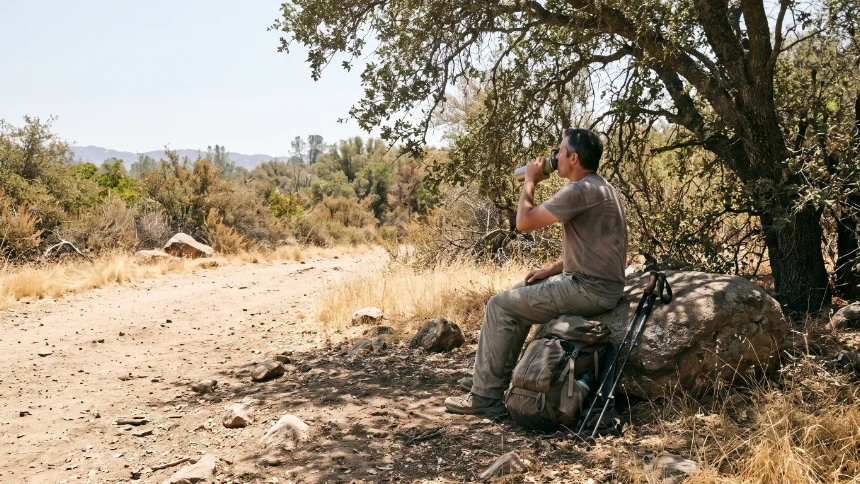
Weather can change quickly, and an unexpected delay can become dangerous. Put on an extra layer before you get cold, protect yourself from rain or wind, and ration your remaining supplies sensibly.
After you contact rescuers, stay in a safe place unless there is an immediate threat to life, and follow their instructions. Use a whistle, flashlight, bright clothing, or other signaling equipment to attract attention when needed. Avoid moving around just to search for a better signal unless you have a clear, safe reason to do so.
6. Make a Simple Plan Before Every Hike
The easiest way to handle getting lost is to reduce the chance of it happening. Before leaving, download an offline map, carry a physical map when appropriate, and tell someone your route and expected return time.
-
Know the trail’s main junctions and exit points.
-
Bring enough water, food, and weather-appropriate clothing.
-
Carry a charged phone and a backup navigation method.
-
Turn back if weather, visibility, or trail conditions deteriorate.
Stay Calm and Make the Safer Choice
Getting turned around does not mean you have failed as a hiker. Stop, assess what you know, avoid risky shortcuts, and ask for help before the situation worsens. A little preparation and a careful decision can make a major difference when the trail stops looking familiar.